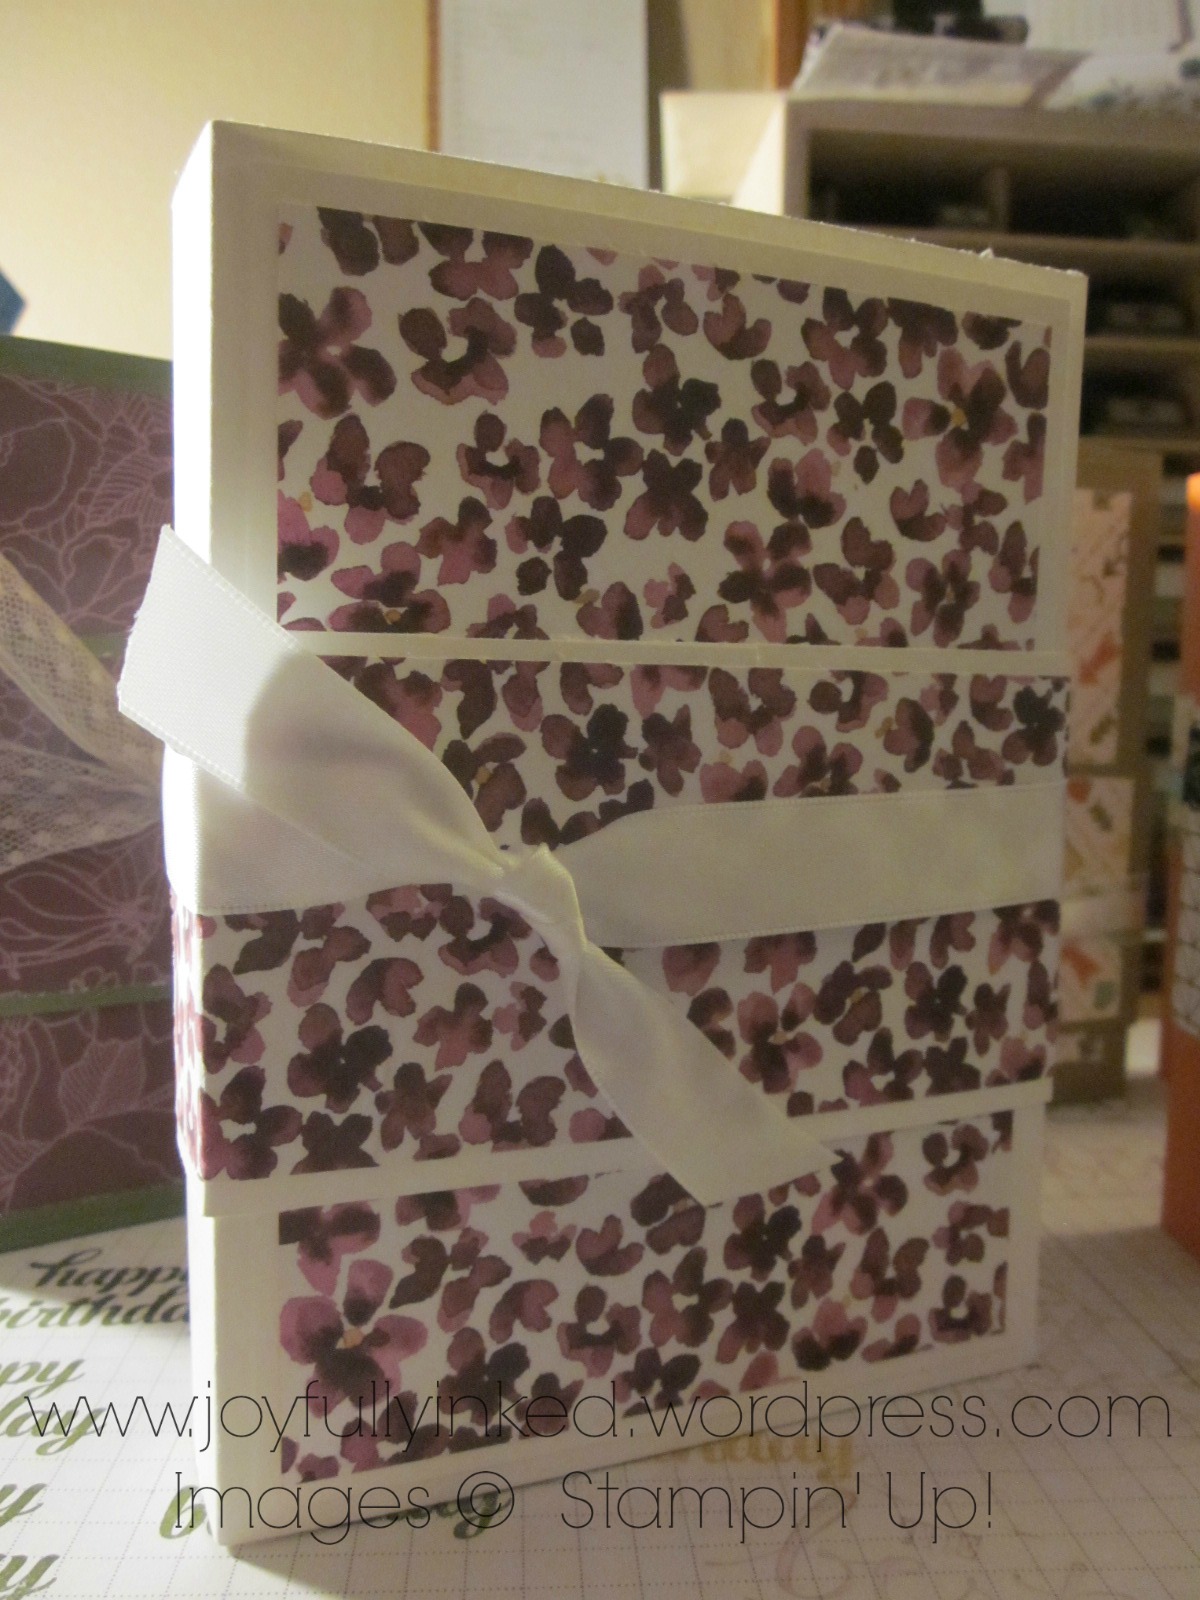
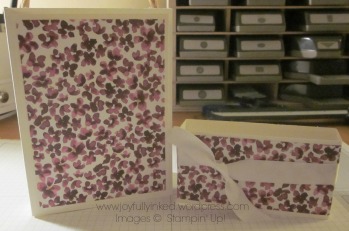
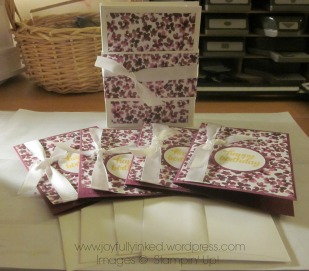
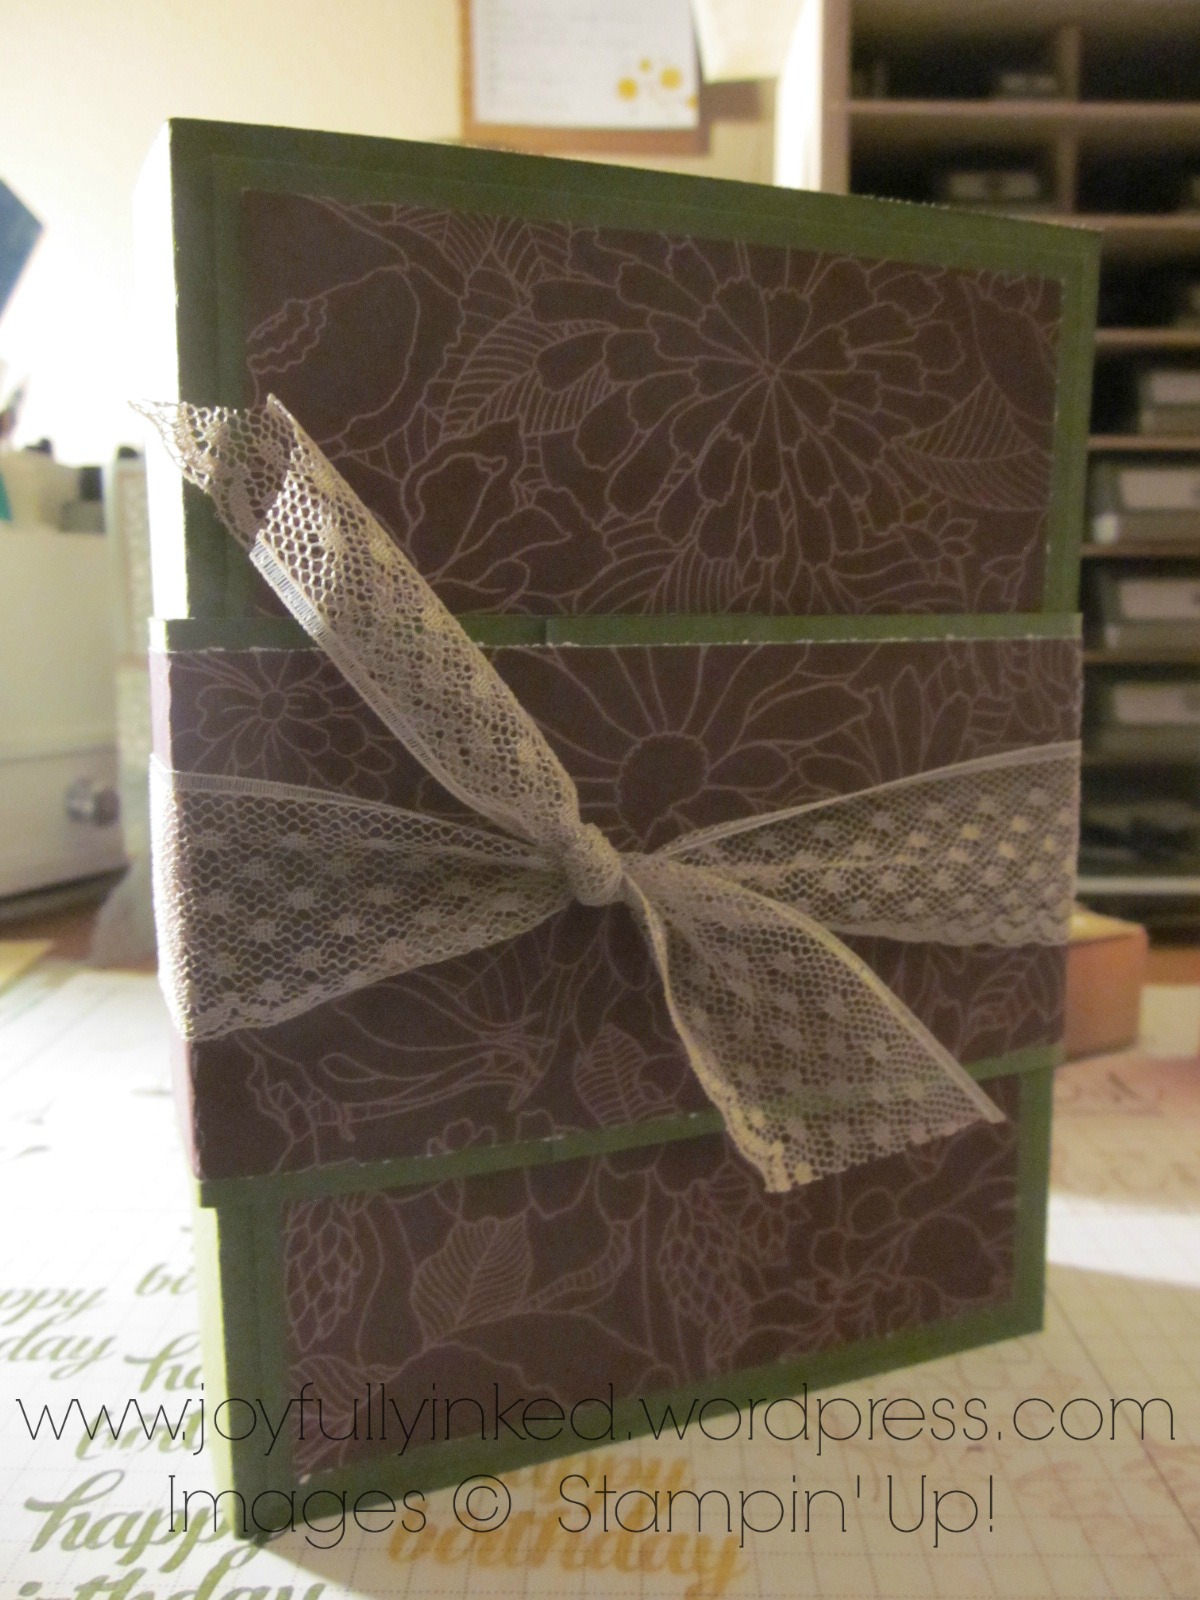
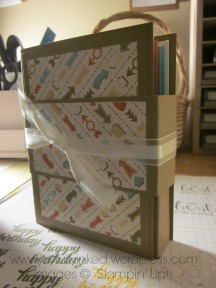
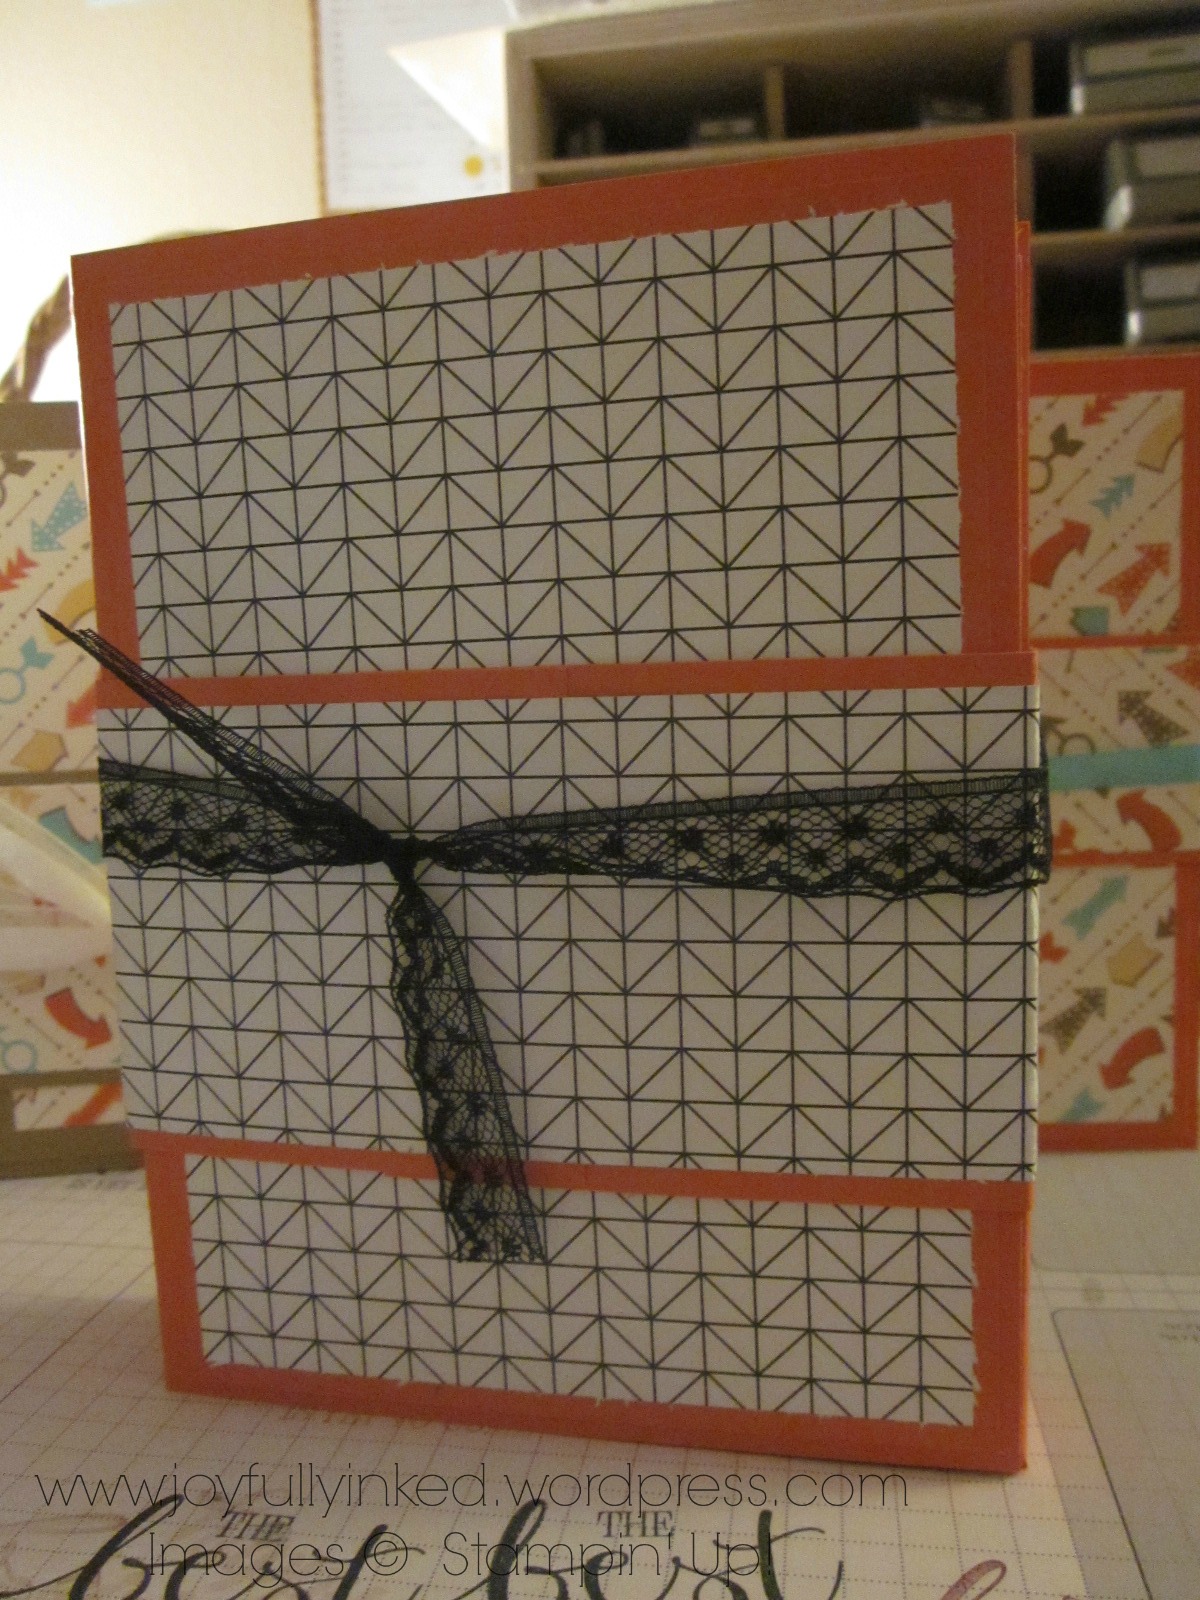
Earlier this month I taught a card class based on the new 2017-2019 In Colors, with emphasis on the coordinating Fresh Florals Designer Series Paper Stack. I had so much fun creating these cards, and especially the coordinating box to hold them (scroll down a bit to see the cards).

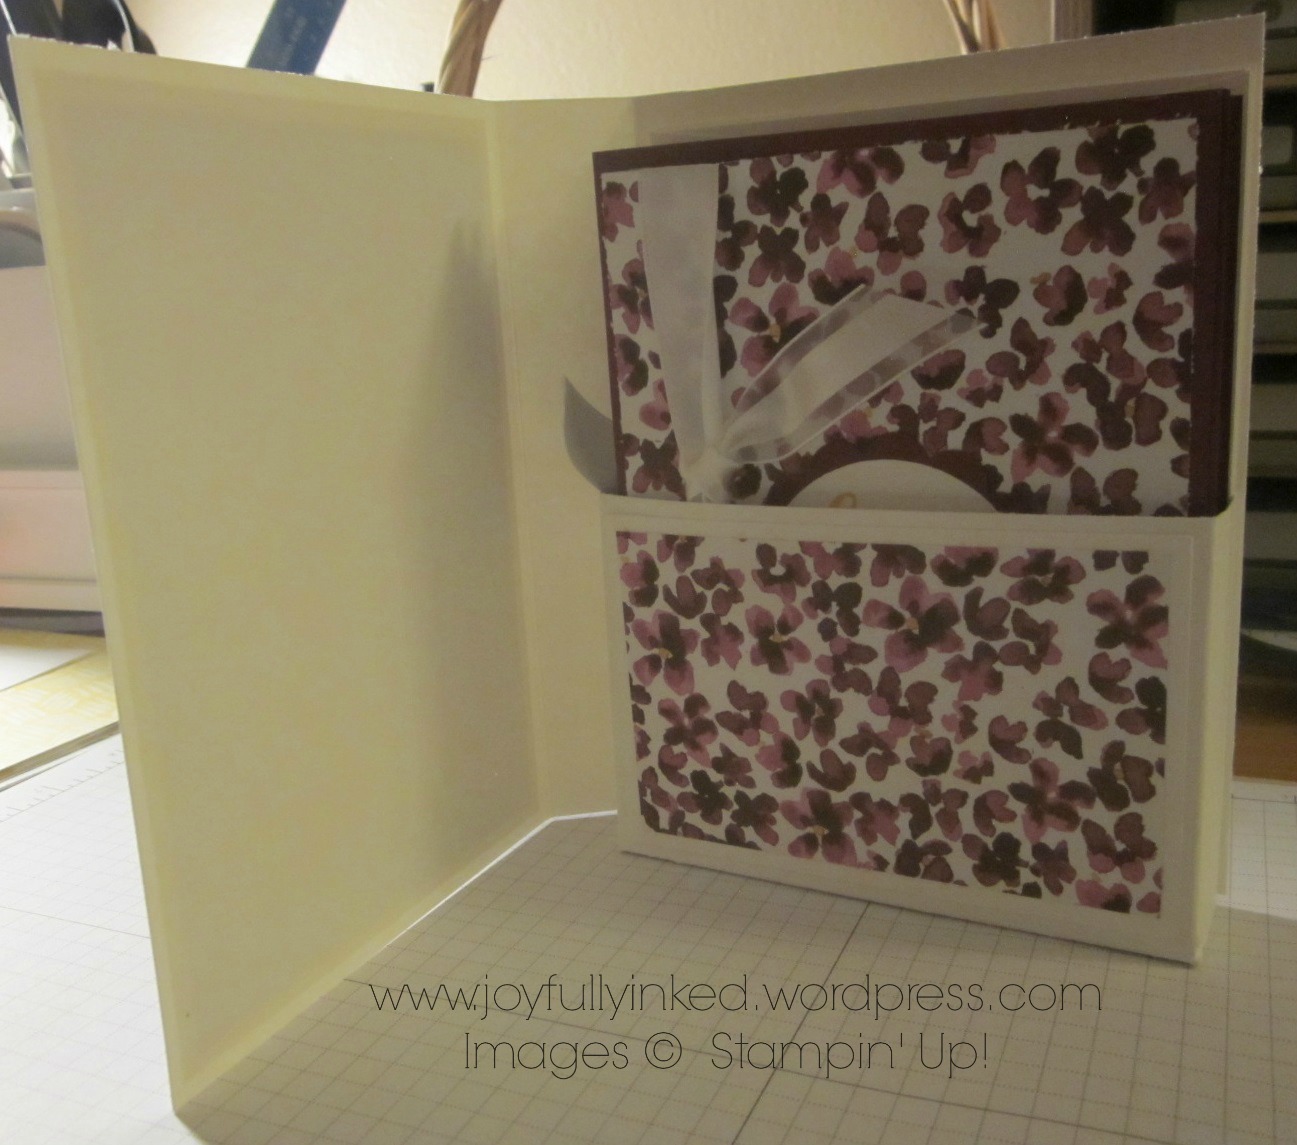
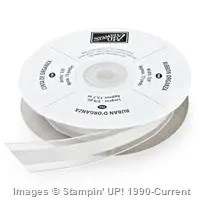
This box is very deep. I easily fit five cards plus envelopes. I am positive you could comfortably fit ten cards plus envelopes. I really liked how sturdy this box was when I created it with the Thick Whisper White Cardstock. Stampin’ Up! also has a Thick Very Vanilla Cardstock, which is a new product with the 2017-2018 Annual Catalog that just went live in June. Here’s a closer look at the top of the box. I really like the 1/2″ Finely Woven Ribbon (it’s so soft!), available in all five of the new 2017-2019 In Colors (Berry Burst, Fresh Fig, Lemon Lime Twist, & Powder Pink, Tranquil Tide).

I CASEd (Copy And Share Everything) the dimensions for this box from Gayle Thompson (not a Stampin’ Up! demonstrator). I changed everything else (cardstock, DSP, embellishments) to make my box coordinate with the card collection I was creating. Here is the link to the video tutorial (**It’s a long one!**)
To speed up the process of creating this box again, I created a written tutorial (see the end of this post) based on Gayle’s video tutorial. Hope it helps you!

In the coming week I will post these cards individually with supplies, dimensions, and tips & tricks. For today, I hope you enjoy this post on the coordinating card box.
Below you will find information on two specials running this month. Click here to be redirected to a previous blog with more detailed information.
–> Bonus Days
For every $50 you spend in July, you earn a $5 coupon to spend in August.
- There is no limit to the number of coupons participants can receive per order or throughout the duration of the promotion.
- An email address is required to participate; Bonus Days coupon codes can only be delivered via email.
–> Christmas in July for new demonstrators!
Purchase the Starter Kit in July for $99 ($175 value) to join my community of Stampin’ Up!® demonstrators and you will receive the Carols of Christmas stamp set AND Essentials Gift Pack of Tools for FREE (an extra $72 value)!
Essentials Gift Pack:
- 118485 – D Block (x2)
- 130148 – Grid Paper
- 103579 – Paper Snips
- 104332 – SNAIL Adhesive
- 102300 – Bone Folder
If you would like to buy any Stampin’ Up products, you can shop on line 24/7 in my online store HERE, or get in touch with me at stephaniemackey2012@gmail.com. I would love to help you in whatever way I can.
I hope you are inspired to create a card box with some coordinating cards. I plan to make lots of these for Christmas presents. If you’d like more ideas for using the Fresh Florals DSP Stack, check out my previous blog post, Fresh Florals Anniversary Cards.
Joyful stamping!
~Stephanie
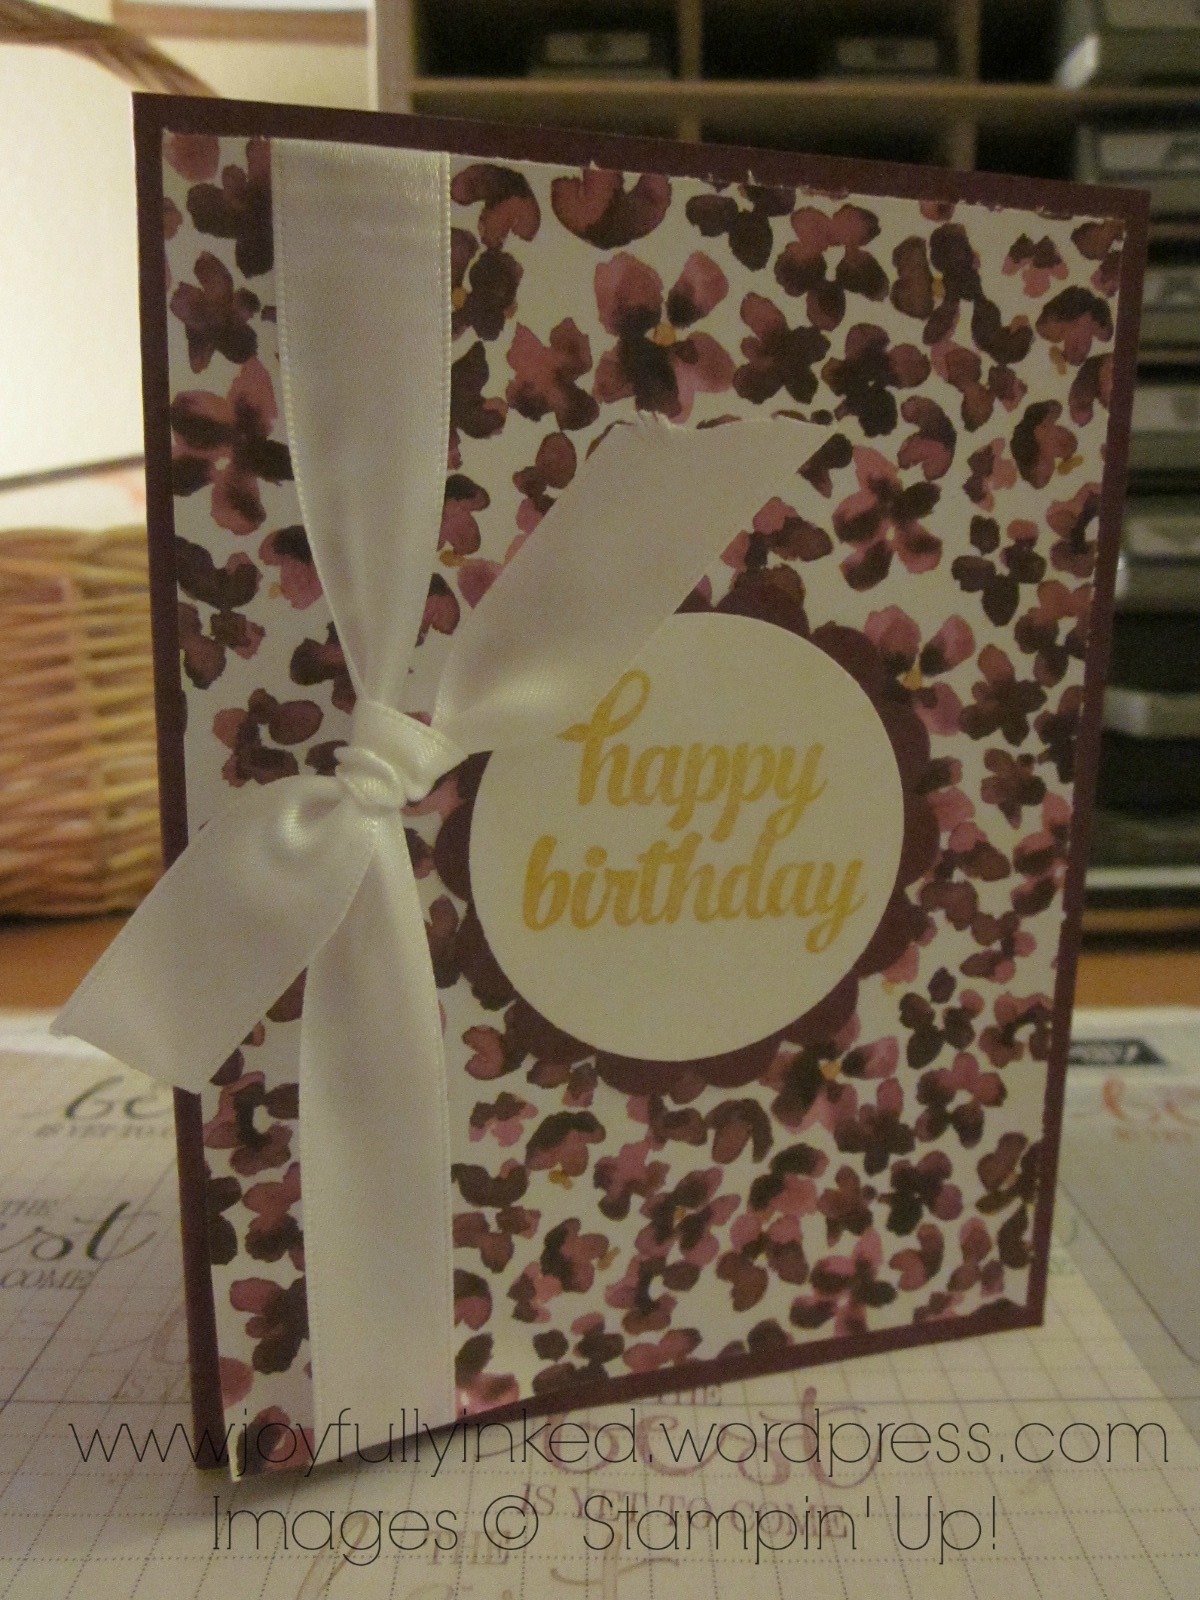
Card Box Supplies:
- Fresh Florals DSP Stack
- Beautiful You Stamp Set
- Layering Circles Framelits Dies
- Cardstock: Thick Whisper White, Whisper White, Berry Burst
- Embellishments: Berry Burst 1/2″ Finely Woven Ribbon
- Ink: Berry Burst Classic Stampin’ Pad
Card Box Dimensions:
- Base: 8 1/2 x 9 3/4″ – Score on all four sides at 2″
- Top: 6 5/8 x 7 7/8″ – Score on all four sides at 1 “
Written Tutorial:
Base & Top
- After scoring, reinforce scorelines with a bone folder.
- Cut up the scorelines on the long sides (DON’T cut any squares out).
- Notch (trim off the edges at a slight angle) both sides of the tabs to make it easier to assemble your box.
- [Add Designer Series Paper, ribbon, and layering circles before assembling the top of the box.]
- Apply strong adhesive (Fast Fuse or Tombo Liquid Glue) to the backs (side facing out) of all tabs and adhere the sticky side to the inside of the box.
- Step back and admire your beautiful card box and then go show someone!