Hello everyone! Today’s project is a real treat . . bag! 🙂 Sorry, I couldn’t resist. It’s been awhile since I have created with my Mini Treat Bag Thinlits Dies, but it was just as fun as the first time I used them. It was even more fun using my World Traveler embossing folder to emboss the treat bag. I had some Tootsie Rolls on hand, so I used those in my treat bag. Valentine’s Day is fun with cards, but even more fun with cards AND candy!

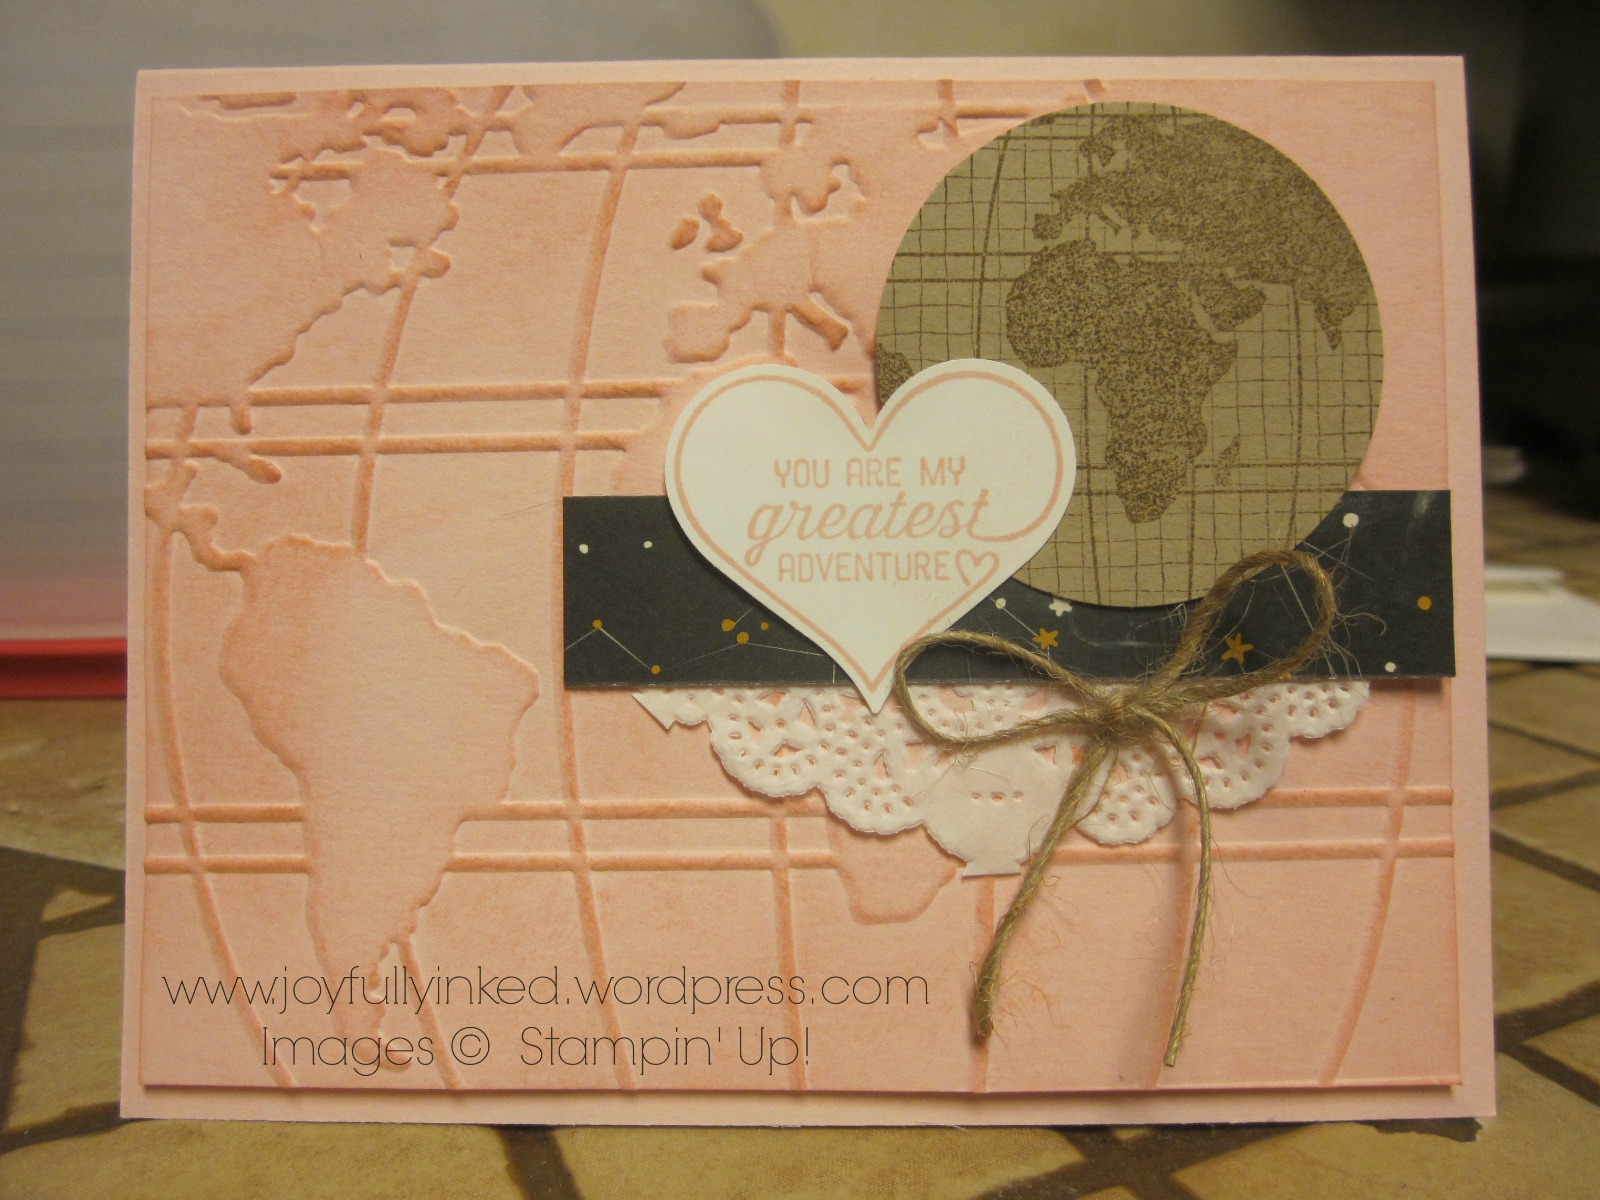
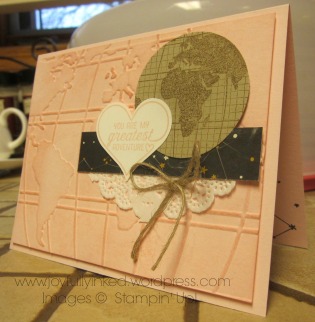
I love all the coordinating pieces that come in the Mini Treat Bag Thinlits Dies set. You can create so much more than just a treat bag.The star and heart pieces can be used to make cute little windows to showcase the treats tucked inside. I especially love the little sentiment pieces – they really pop!

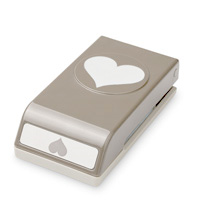
Here is a close up of the layering. All of these pieces, except for the little red heart, are from the Mini Treat Bag Thinlits Dies set. The little red heart is from the Hearts Border Punch.

The pink hearts are the hearts that were punched out from the hearts banner. Waste not, want not. 🙂 The heart, star, and circle banners only cut out the inside shapes, not the outside, so you need to cut your cardstock to 3/4 x 3 3/4″. The whisper white sentiment banner is 1/2 x 2 3/4″.
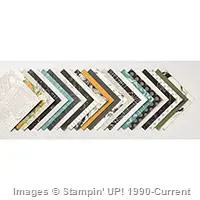
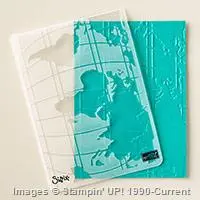
Below is the World Traveler Embossing Folder I used on this treat bag. It can also be used as a stamp. Just use a brayer tool to ink up one side, stick your cardstock inside, close it up, and apply pressure. Cool, right?
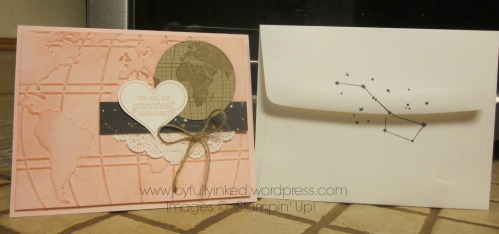
Another idea is to use the mini treat bag as a card pocket. You could stick a cute little note in there. The treat bags make pretty cute envelopes. 🙂

I hope you are inspired to create some cute Valentine’s too! I highly suggest trying out the Mini Treat Bag Thinlits Dies when you do!
Joyful stamping!
~Stephanie


Built for Free Using: My Stampin Blog