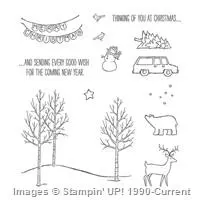
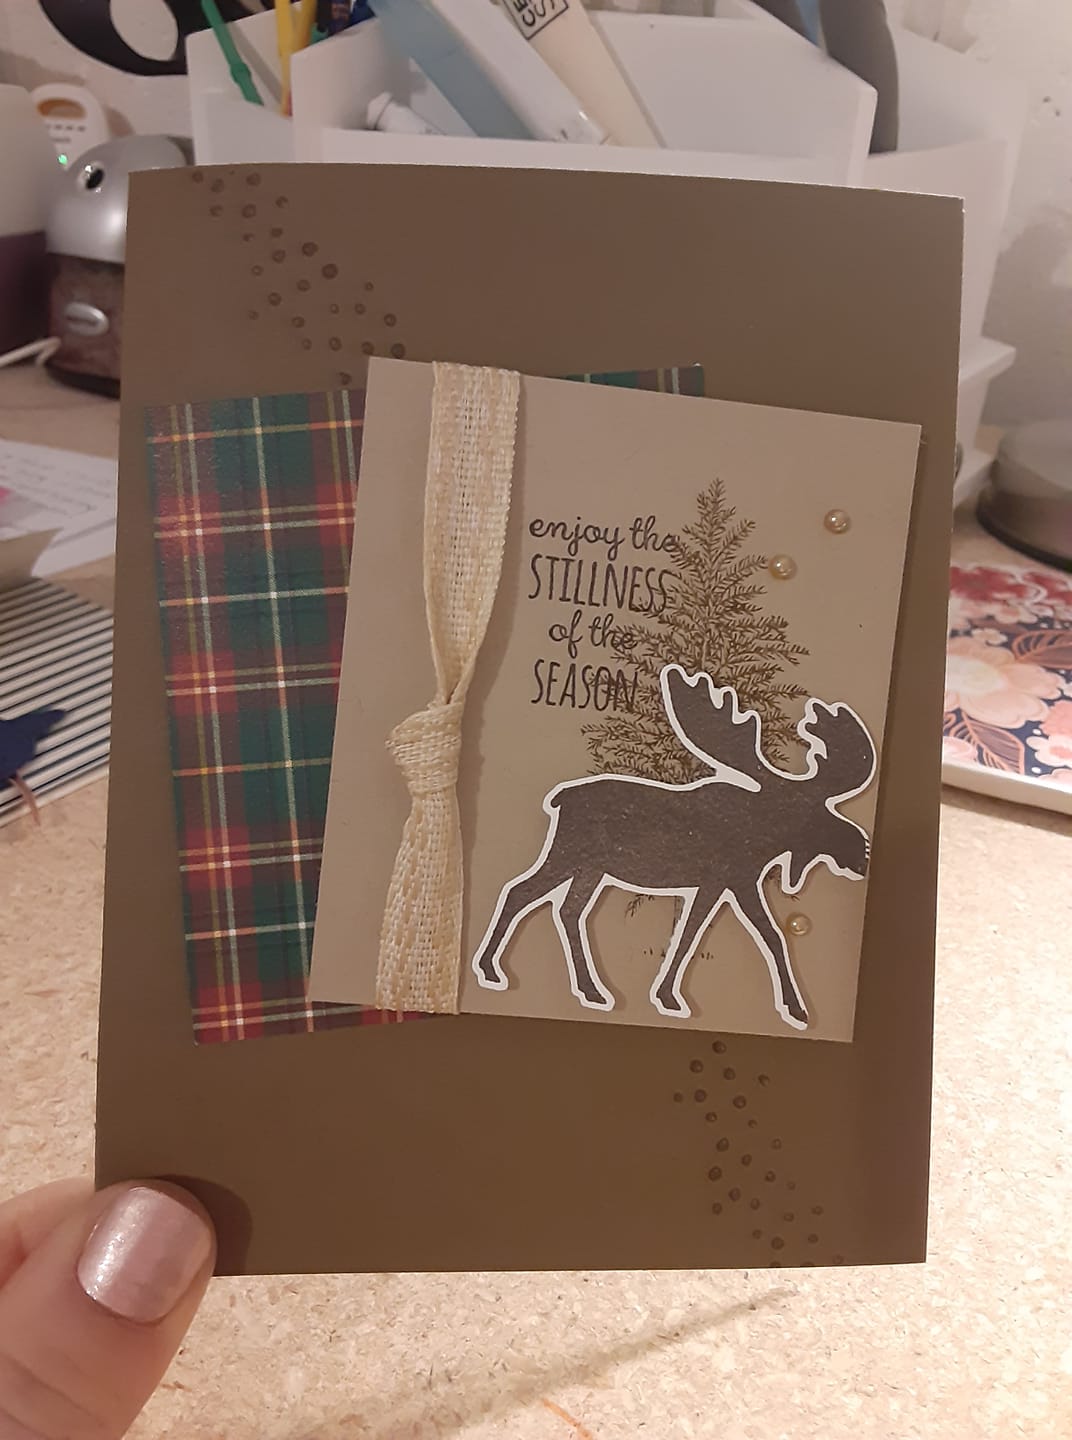
Hello! Today I’ve got a new Christmas card with an old (but a goodie!) stamp set for you. I think it was just last year that Stampin’ Up! introduced the Merry Moose Bundle and they brought it back for this year’s Holiday Catalog. I’m so glad they did! I love using punches when mass producing Christmas cards – it helps so much to cut down on the assembly time!
I stamped the inside with “Merry Christmoose”. hehe Check out the video below to see that.
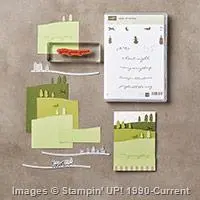
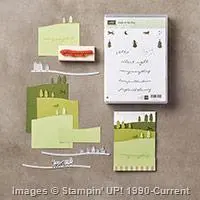
I copied this card from p. 27 of the 2020 Holiday Catalog. I used the Plaid Tidings DSP instead of the Poinsettia Place DSP shown in the picture. Watch the video below to see how I put this card together and to get the measurements.
If you don’t already have a Stampin’ Up! demonstrator, I would love to be your go-to girl for all your stamping needs. You can shop my Online Store 24/7. Please let me know if there’s anything I can do to aid in your crafting experience. I am more than happy to do what I can to help!
If you are local to Racine, WI I invite you to join my Stampin’ Up! Facebook page, Joyfully Inked Cards with Stephanie Mackey. You can find info about classes, card ideas, crafting tips, and SU! news and promotions. I am able to share a little more often on Facebook than I am in my blog or on YouTube.
If you have thought about being a Stampin’ Up! demonstrator or are interested in a 20% discount, among other perks, I’d love to have you on my team, The Joyful Inkers. You can sign up here or contact me if you have questions or would like to talk more about this.
Hello! It’s hard to believe it has been well over a year since I’ve shared a project here. I struggled with balancing blogging, caring for my two little girls (the second of which was born a month or so after my last blog post) and prepping for my in-home Stampin’ Up! classes. Check out my two cuties below!
I have had high hopes of starting to blog again – hopefully this post is the first of many! I figured it would be a great New Year’s resolution and thought I should get into the groove a little early. 🙂 I would truly appreciate likes, comments, and shares to keep me motivated with creating my own cards and sharing ideas with others. Thanks in advance for your support!
This stamp set, “Barn Door” has been one of my favorites since it first came out last year. I love anything interactive when it comes to cards. This set is not a Christmas set in and of itself, but when you pair it with a Christmas sentiment (this one is from the “Feather & Frost” stamp set) this card quickly becomes Christmas-y. 🙂
Add an Iridescent Boxwood Wreath and this card’s Christmas factor is totally amped up. These little embellishments coordinate perfectly with the gorgeous shimmery Frosted Floral Specialty Designer Series Paper. I’m so sad it will be retiring January 2nd when the 2018 Holiday Catalog ends. Order now to get your hands on it before supplies run out!
Add a nice large sentiment on the inside, sign your name, and your Christmas card is complete! Now for the envelope. 🙂 I add DSP to the envelope flap whenever possible. I love giving the recipient a little teaser of the fun that is to come once they open their card.
*Tips for adding DSP to the flap: 1)Cut a piece of Designer Series Paper to 6 x 2 1/4″ 2)Apply the adhesive (Snail is recommended) to the outside of the envelope flap (rather than the strip of DSP) 3)Line the DSP up with the seam of the envelope and press firmly to adhere it to the flap 4)Use Paper Snips (Stampin’ Up!’s handy tiny scissors) to trim off the excess DSP 5)Sit back and soak in the beauty of Stampin’ Up!’s amazing DSP!
Stampin’ Up! released a how-to video for the Barn Door Stamp Set and Sliding Door Framelits when they were first released. Check it out below to see these products in action.
I made about 8 of these Barn Door Frosted Floral cards this year, but I think I will make some more to send out next year. I invite you to join me in my New Year’s Resolution of making 10-15 Christmas Cards each month, starting in January. I sent out about 135 cards this year. You can adjust your goals as needed. 🙂 Order your supplies now so you are ready to start whenever you’ve got the time!
Thank you so very much for taking the time to read my post. I hope you have been inspired!
I would love to be your Stampin’ Up! demonstrator and would truly appreciate your business and support. If you would like to order with me you can do so by clicking the link to my Online Store on the right hand side of this page. If your order is less than $150, I invite you to use the Host Code UR6A3U2Z when checking out. If your order is $150 or more, than be sure to claim the Host Rewards for yourself! 🙂
Stampin’ Up! will have more products on clearance for our Year-End Sale December 10, 2015-January 4, 2016. While supplies last, they are offering discounts up to 60 percent on select products. If you would like to place an order you can do so in my online store. I invite you to type in the host code 232J4GSM when placing your order.
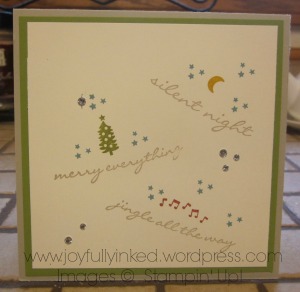
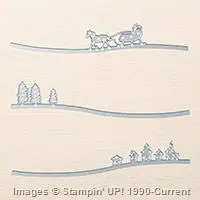
The card I have for you today was inspired by a card on a German demonstrator’s website. It has the same stamps arranged in a circular pattern that I thought was very striking. I tried for awhile to duplicate the circular pattern and just couldn’t get it to work. I decided to do this sectional pattern below. I am pretty happy with the results.
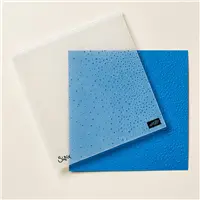
It was really fun coming up with little arrangements to represent each sentiment. This design wouldn’t have worked very well on a traditional rectangular card. Luckily, I had some 5 1/2″ square envelopes left over from a past Christmas.The card base is 5 1/4″, the Old Olive layer is 5″ square, and the Very Vanilla layer is 4 3/4″ square. Sometimes it is really fun to work with a different size card than normal.
This card was pretty easy to mass produce. I made 8 of this card. On the other 7 cards, the upper left corner had a rhinestone in it. I had to use that rhinestone to cover up a smudge near the Christmas tree. 🙂 I also had planned to make this card on Crumb Cake cardstock instead of Sahara Sand, but I was out of Crumb Cake cardstock! Never let that happen! Crumb Cake is my favorite neutral color.
I hope you are inspired to try keep going when a card you are making isn’t working out. I encourage you to play around with card sizes & shapes. There is still time to make and send Christmas cards! You can do it!
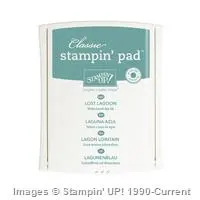
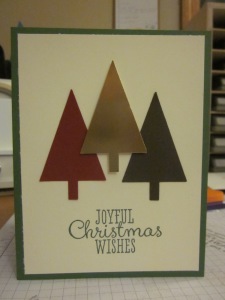
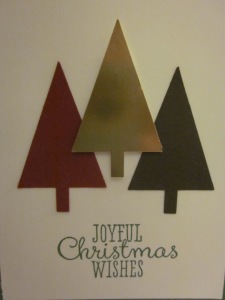
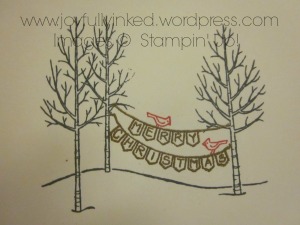
Hello everyone! Today’s card is all about trees…Christmas trees. 🙂 I made a similar card awhile ago that I didn’t feel was up to par for my blog so I didn’t post it. Something wasn’t quite right. A few days ago I played around with the design, changed some colors, and added the gold tree. I am pleased to show you this second version.
You probably noticed the simplicity of this card. The cards from the last two posts have been fairly simple as well, although not lacking in cuteness I hope. 🙂 The reason for the continued simplicity is that these are cards I plan to make and send out as my own Christmas cards to family and friends.
If you are planning to mass produce Christmas cards I highly recommend going simple. As long as you make sure there is something special in your cards, like the gold foil tree in this card, your simple cards will still delight the recipients.
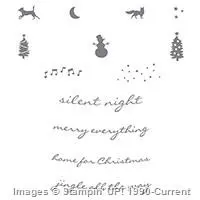
The sentiment is from a retired set called “Joyful Christmas”. Of the Christmas stamp sets that I have, it worked the best with the layout of this card. I am confident that there are many stamp sets from the current Stampin’ Up! Holiday Catalog that would also work with this layout.
I hope you are inspired to create some simple Christmas cards that you can mass produce to send to family and friends. They will be well received!
***Special Note***:Just one more month until the new Stampin’ Up! Spring/Summer Catalog! You won’t be disappointed! Be sure to sign up with your email in the box on the right to receive notifications of my blog posts so you don’t miss any news & projects from the new catalog.
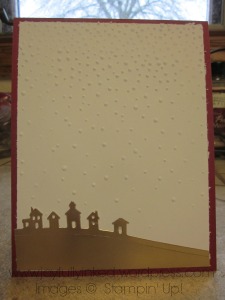
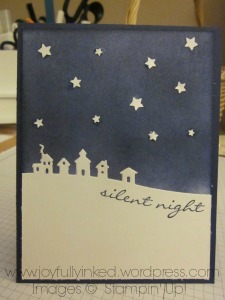
Hello everyone! Today I have a very simple Christmas card for you. I have brought back the Sleigh Ride Edgelits Dies from past posts, this time cut from Gold Foil Sheets. Even though I did not use the coordinating stamp set, Jingle All the Way, I did borrow one of its sentiments for this posts title. This sweet little village just made me think of a silent nightwhen our Savior was born.
The Softly Falling embossing folder again gives just the right amount of subtle detail to this card.
Here you can see the adorable little village shining in its all its goldeness. 🙂
I hope you are inspired to use the Softly Falling embossing folder on some Christmas cards this year. Try it in gold – I think you’ll like it. 🙂
Hello everyone! I have another Christmas card for you today with non-traditional colors. I really like this combo of Night of Navy with Bermuda Bay.
The Softly Falling embossing folder adds just the right amount of interest without taking over the card. When you have a Big Shot you can add so much to your cards.
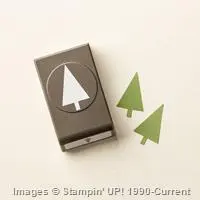
You can really see how well these two colors go together on this cute little tree (see close up below). The Festival of Trees stamp set has a coordinating punch, the Tree Punch, that makes creating adorable Christmas cards a snap. Popping the punched out tree up with Stampin’ Dimensionals helps make it the focal point of the card.
I hope you are inspired to try something new with Christmas cards this year. It is very rewarding. 🙂
Hello everyone! I really like the bare elegance of today’s card. It took me a few tries to get it right. The Real Red cardstock against the Gold Foil Paper reminds me of classic Christmas movies.
At first I had done the “Merry Christmas” in Memento Tuxedo Black Ink and watercolored a little real red along the left side and bottom of each letter. It wasn’t working for me so I tried the Gold Embossing. I really like how it works with the Gold Foil Paper and pulls the card together.
I realized while making this card that I used gold embossing in a few card designs last year too. It seems I really like embossing with gold on Christmas cards. Leave me a comment below and let me know if you have a favorite technique for your Christmas cards.
I suggest embossing a sentiment on the inside of the card in gold as well. It looks really pretty against the Real Red cardstock. I wanted to show you this on my card, but I couldn’t get the lighting right to take a picture. You’ll have to try it for yourself.
I hope you are inspired to do some gold embossing on your Christmas cards. I think you’ll have fun!
Hello everyone! Today’s card is a Christmas card with non-traditional colors: Night of Navy and Bermuda Bay. I was inspired to create this card by one we made awhile ago at a team meeting.
I wanted to follow the design of the card we made, but I didn’t have the stamp sets we had used. I had to resort to using retired stamp sets to create my card. I wanted to share it with you anyways so that you could be inspired by the non-traditional colors. I love them!
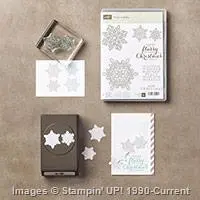
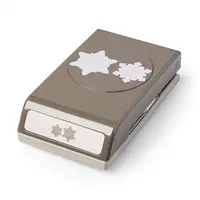
You could easily duplicate the look of this card by using the snowflakes from the Flurry of Wishes stamp set. The awesome snow flurries punch will cut out that cute little snowflake just perfectly.
I hope you are inspired to create with some non-traditional colors on your Christmas cards this year. 🙂
Leave me a comment below and let me know if you prefer traditional Christmas cards or like experimenting!
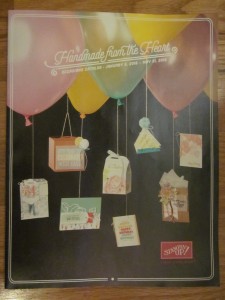
Hello everyone! I am very excited to show you the newest Stampin’ Up! catalog! Or at least to show you the cover. 🙂 This catalog, the Occasions Catalog (a.k.a. Spring/Summer Catalog), will go live in early January. Stay tuned to my blog for sneak peaks in the coming weeks!
I got my hands on a copy of the new Occasions Catalog at Stampin’ Up!’s first OnStage event on Saturday. OnStage is a one day mini conference where Stampin’ Up! demonstrators get to play with lots of new product from the Occasions Catalog and receive training and information on these products and how to share them with customers. It was a blast!
I also have a Christmas card for you today. I am bringing back the Sleigh Ride Edgelits Dies and coordinating Jingle All the Way stamp set from a few previous posts, Jingle all the Way, Merry Everything, and Not a Christmas Card.
I have seen lots of night skies on cards with these edgelits dies. I decided to create one too. I sponged Night of Navy ink onto Whisper White cardstock using Stampin’ Sponges. I liked a dark sky, but you could do a lighter sky if you like that better. Leave me comment below and let me know if you would have preferred a lighter night sky, or if you are with me on the dark sky.
Here is a close up of the precious little stars and cozy little houses.
I hope you are inspired to use some edgelits on your next card or to try your hand at some sponging. I can’t wait to start showing you previews of products from the Occasions catalog in December!
I invite you to enter your email in the box in the upper right hand corner to receive email notifications of my blog posts.
Joyful stamping!
~Stephanie
*Note: An additional product needed to create this card is the Big Shot (113439).
Hello everyone! I know we haven’t yet celebrated Thanksgiving in the U.S., but in the papercrafting world Christmas starts early. 🙂 I will be posting a lot more Christmas cards in the next few weeks as I begin making cards to send out, as well as sell at craft fairs.
Today’s card is a silver & navy themed card. I was inspired by a gold themed card I saw on Pinterest. Here is a link to the original blog post. The Night of Navy layer is 3″ square and the Whisper White layer is 2 3/4″ square.
Below is a close up of the cute little sentiment banner and silver embossed Christmas Tree. The cute little star is from the Itty Bitty Punch Pack.
I hope you are inspired to begin working on your Christmas cards. If you’ve never handmade them before, I strongly encourage you to give it a try. You will get lots of appreciate comments. 🙂


 Embroidered Ribbon")


 Specialty Designer Series Paper")